Friday 11 May 2012

Pancakes


Is there any better way to kick off the Mother’s Day celebrations this Sunday, than making your mum breakfast in bed? Unfortunately, I won’t personally be making these for my mum for breaky this Mother’s day, however if my sister is reading this, she may take the hint. Make these deliciously light and fluffy pancakes for your Mum, and you’ll be in the good books for at least the next year.

This is by far the best pancake recipe I have ever used. Up until recently, I have always made the crepe style pancakes as I find that thick pancakes can be a bit doughy. This recipe, however, produces a delicious light and fluffy pancake and I haven’t made crepes since!

Pancakes
Makes approximately 15

2 cups self-raising flour
1 /4 teaspoon salt
1/3 cup caster sugar
2 cups milk
2 eggs, separated
30g butter, melted
1 teaspoon vanilla essence
 
Sift flour, sugar and salt together into large bowl
In a jug, whisk together milk, egg yolks and vanilla
Whisk gradually into flour mixture
Fold in the melted butter


Using electric mixer, beat the egg whites until soft peaks form
Gently fold the egg whites into batter mixture


Pour 1 /4 cup of batter at a time into a lightly greased frying pan over medium heat.


Once bubbles form, turn pancake over to brown other side.


 Serve with fresh berries, maple syrup and ice-cream.


Monday 9 April 2012

Poppy’s Peanut Butter Puppy Bikkies

Introducing my gorgeous puppy dog, Poppy! 
Today is Poppy’s first birthday, so I decided to bake an extra special treat for her. 
After reading numerous dog biscuit recipes on the internet I finally decided to wing it and this is what I came up with. 
Poppy has loved peanut butter ever since we first got her so these are Poppy’s Peanut Butter Puppy Bikkies. 
I hope your pooch enjoys these as much as Poppy did!

Poppy’s Peanut Butter Puppy Bikkies

Makes: 12

1 cup plain wholemeal flour
½ tbs baking soda
100g crunchy peanut butter
30g honey
120ml milk

Preheat oven to 170˚C fan forced

Place four and baking soda in a bowl (sift baking soda if it is lumpy but don’t sift flour)
 
Place peanut butter and honey in separate bowl and gradually stir in milk to make a smooth mixture.


Pour wet ingredients into the bowl with the flour and stir until it comes together.


Tip onto a floured surface and knead until it becomes a smooth (except for the peanuts) dough.


Roll out between 2 floured pieces of baking paper until 0.5-1cm thick.  

Use a cookie cutter to cut out the bikkies and place them 2cm apart on a lined baking tray

Bake for approximately 10-12 minutes until they are an even golden brown.

Cool on a wire rack. 
The bikkies will harden as they cool.


 Then watch them disappear!


Thursday 15 March 2012

Raspberry Friands (Gluten free)


Friands! The 'friend' to those who are gluten intolerant. I had never made friands before now, but since my little sis had to start a Gluten free diet I decided to try and bake something tasty that she could eat. While this recipe is Gluten free, you can substitute plain flour for the gluten free flour if you are not making them for anyone who is gluten intolerant.  
These Raspberry Friands are very light and moist and make a great snack for morning or afternoon tea. To turn them into a delicious dessert, accompany them with Raspberry Coulis and Gluten Free Vanilla Bean Custard.

Gluten free Raspberry Friands with Raspberry coulis and Gluten free, vanilla bean custard

Raspberry Friands
Makes 12
8 egg whites
100g plain gluten-free flour
160g almond meal
1 cup pure icing sugar
200g unsalted butter ( melted and cooled)
200g frozen raspberries

Raspberry coulis
100g frozen raspberries
1tbs lemon juice
2tbs icing sugar

Gluten free vanilla bean custard
(this recipe makes way too much custard for the number of friands but it is a great way to use up the left over egg yolks)
8 egg yolks
80g castor sugar
¼ cup gluten free plain flour
600ml milk
1 tsp of vanilla bean paste (equivalent to one vanilla bean)

Lay frozen raspberries out on absorbent paper to thaw. Weigh out 100g to use for the raspberry coulis (if possible use the broken raspberries for this and keep the intact ones for the friands).

Melt the butter and use some to brush the friand tin thoroughly (if you don’t have a friand tin then a muffin tin will be fine). Place tin in the fridge to set the butter. Set the remaining butter to the side to cool.
 
Raspberry Coulis


 In a small saucepan, place 100g of raspberries, the lemon juice and 2tbs of icing sugar.     


Bring to a simmer over a low heat and cook until it has reduced by half.

Strain the coulis to remove seeds and set aside to cool.


Preheat oven to 170 fan-forced

Whisk egg whites using an electric mixer until soft peaks (make sure you don’t over whisk)


Combine the flour, icing sugar and almond meal and sift over the eggwhites.


Using a large metal spoon, gently fold the dry ingredients through the egg whites, using a cutting action, until just combined.  


Pour in the cooled (room temperature), melted butter and gently fold through until combined.

Set aside approximately 40 raspberries and add the rest to the mixture and fold through.

Divide your mixture into 12 prepared pans and top with around 3 or 4 raspberries.


Bake in oven for 25-30 minutes or until golden and the tops feel spongy to touch

Gluten free vanilla bean custard:
Whisk together the egg yolks and sugar

Whisk in the flour and a dash of the milk to achieve a runny consistency.

In a medium saucepan, bring the milk and vanilla bean paste to a rolling boil.

Once boiling, pour the milk over the egg yolk mixture while whisking vigorously.
Pour the contents back into the saucepan and stir continuously with a spatula until it thickens.

Remove from heat immediately and pour into another bowl to stop the cooking . If not serving straight away cover with cling wrap so that it covers the surface.


Allow friands to stand in tin for 5 minutes, then remove by first running a knife around the edge of each friand.


Serve warm with custard and raspberry coulis.


Sunday 12 February 2012

Strawberry Cupcakes with Boysenberry Buttercream

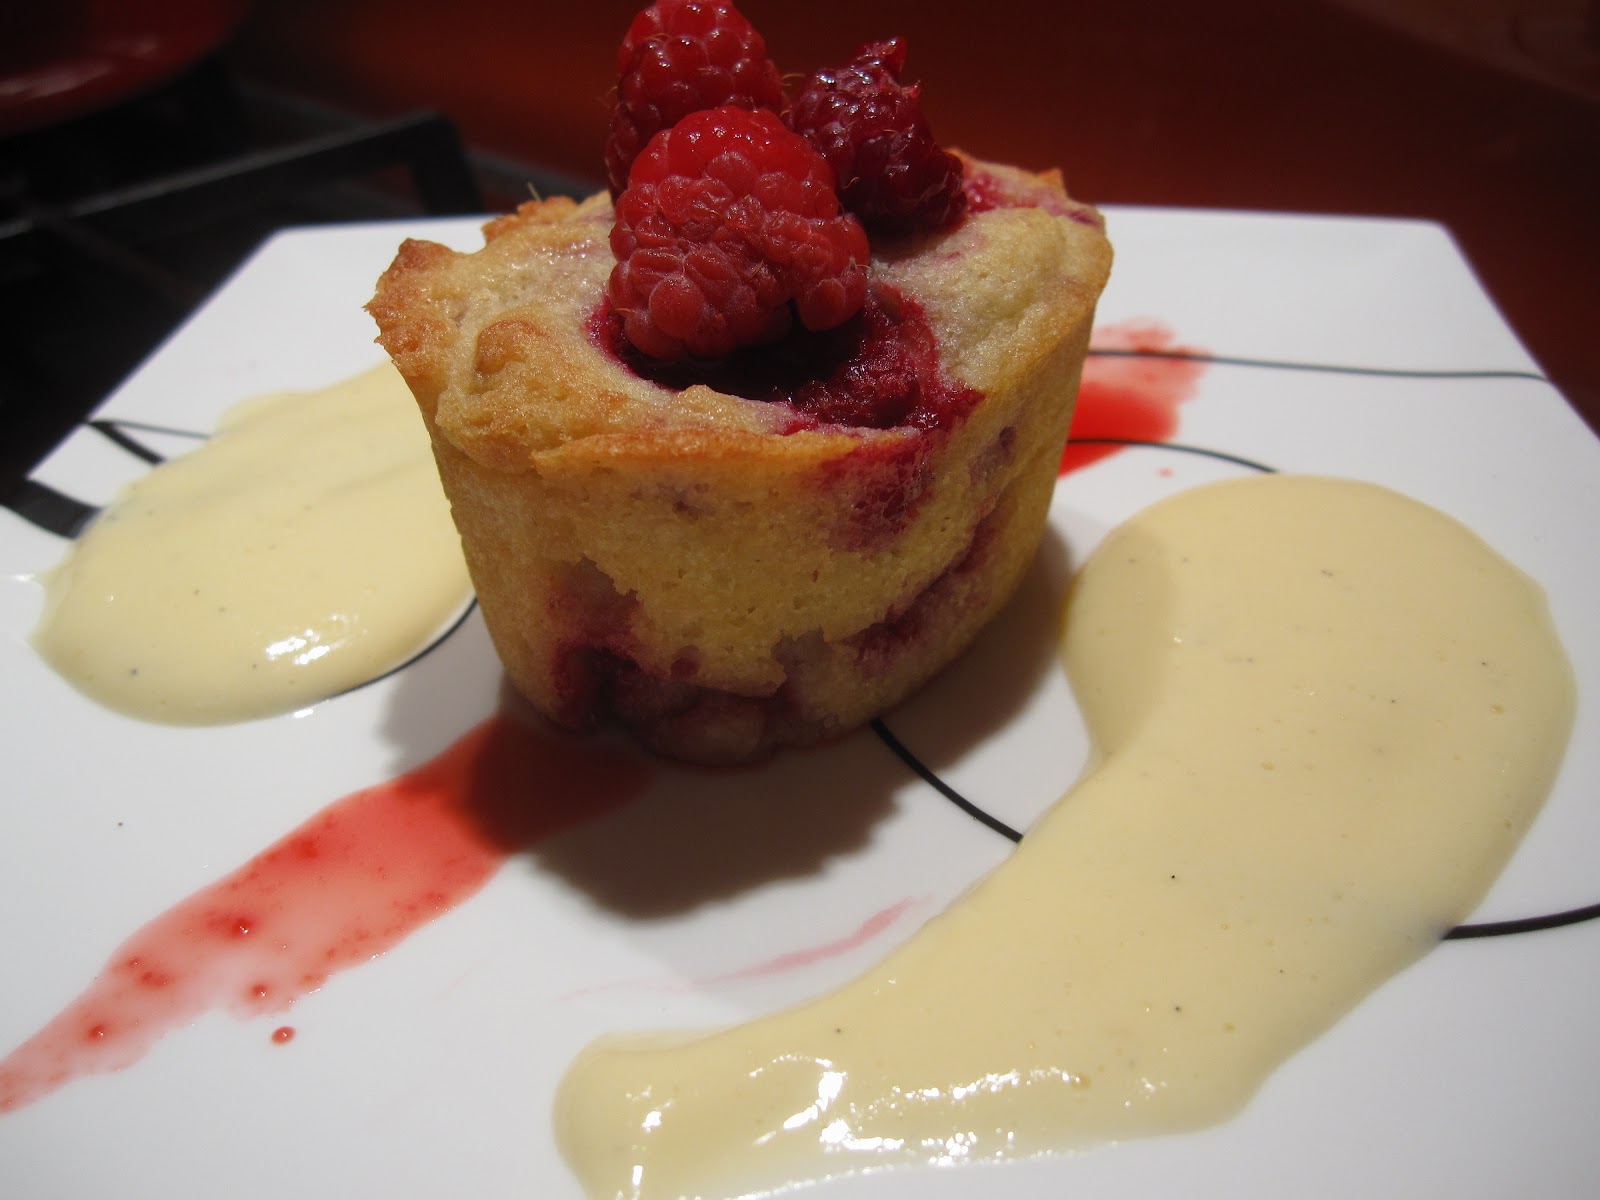
The cupcake trend has really taken off in the past year or so, with specialty cupcake shops popping up all around Melbourne. You really don't need to spend a fortune buying cupcakes for a special occasion because it is really quite simple to make make them yourself!
The secret to decorating a cupcake is simplicity! The trickiest part is piping the buttercream onto the cakes. You can have a practice first by piping onto some baking paper and then scraping it back into the mixing bowl. Be careful that you don't warm up the icing too much as it will not hold it's shape when you go to pipe onto the cakes.
By purchasing some roll-out icing from a cake decorating supplier, you can dye it and cut out some little shapes to use as decorations for your cupcakes. These shapes will keep in an airtight container for a few months.

I love this cupcake recipe! By using real strawberries, it eliminates the artificial strawberry flavour that you would get from just using strawberry essence. This recipe is my variation on the Women’s Weekly butter cake recipe. While this recipe is for cupcakes, you can cook it in a regular cake tin and extend the cooking time, to make a bigger cake.

The buttercream recipe that I use is Donna Hay’s recipe. As much as I dislike Donna Hay as a ‘TV personality’, I have to admit that she has some fantastic recipes. I always use her recipe for buttercream. It produces a thick and creamy icing that can be piped or spread over any cake.

These cupcakes keep really well, although once iced with buttercream, they need to be refrigerated. They can also be frozen (un-iced) and thawed when needed.

Strawberry cupcakes:
Makes 18
150g Fresh Strawberries
125g Unsalted butter – room temperature
1tsp Strawberry Essence
¾ cup Castor Sugar
2 eggs – lightly beaten
1 ½ cups Self-raising Flour
½ cup milk

Preheat oven to 170˚C (fan forced) and line cupcake tins with patty pan liners.


Finely chop strawberries and press into a sieve to remove as much juice as possible (catch the juice in a bowl and keep for later). Set aside.


In a stand mixer (or using a hand mixer) on medium speed, cream together the butter, sugar and strawberry essence until light and fluffy.


Separated batter
Gradually add the eggs with the mixer still running. Only add in small amounts at a time and wait until it is fully incorporated before the next addition. If the egg is added too quickly, the mixture is likely to separate. If it has separated it will look like this:


To fix the batter, if it has separated, add a heaped teaspoon of the flour and beat well before adding any more egg.


Batter after adding egg


Turn the mixer to low speed and add half of the flour and mix until it is incorporated. Then add half of the milk. When this is mixed in, repeat with the other half of the flour and milk.


You will have a very thick cake batter. Next add the chopped strawberries and 2 tablespoons of the strawberry juice and mix briefly on a low speed until just combined. 


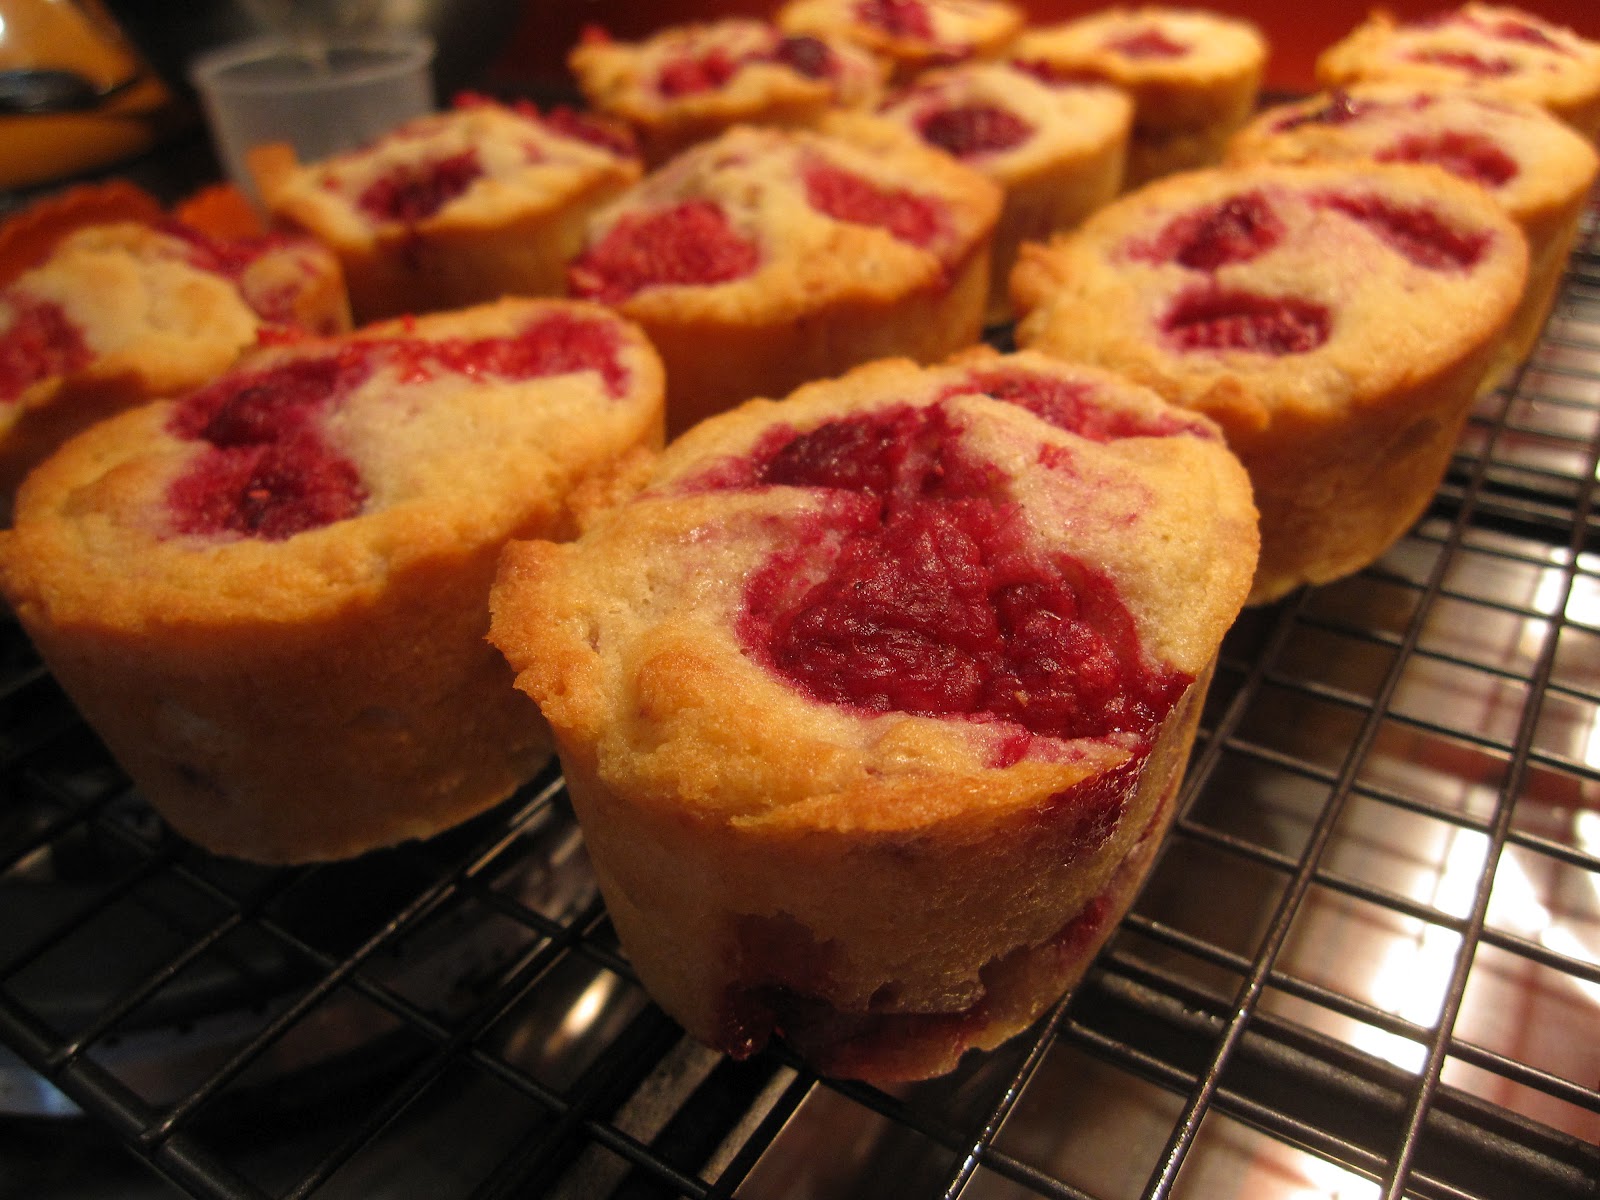
Spoon the batter into the patty pans so that they are about 2/3 full and bake for approximately 15 minutes or until the tops are lightly browned.

Remove from the tin and cool on wire racks.


Boysenberry Buttercream:

I always use boysenberry with these cupcakes but you can change the flavour to whatever you like!

2 cups pure icing sugar
125g unsalted butter – softened
1 tsp boysenberry flavouring
¼ tsp purple food colouring gel
2 tbs milk        

Garnishes:
Silver cachous
Shapes cut out of roll out icing and dried
a pinch of sparkles (edible ones of course)


Place softened butter in mixer and beat on high while gradually adding sifted icing sugar.
Scrape down the bowl.

Continue to beat on high and add the boysenberry flavouring and purple food colouring.


Add milk and beat on high for about 5 minutes. 
The milk gives the buttercream a smoother and shinier appearance.


Prepare a piping bag, fitted with a star nozzle and fill with butter cream.
Pipe a flat rosette on top of each cupcake. 


Garnish with silver cachous and stars cut out from roll-out icing.


Make the cakes extra special by adding just a 'pinch' of sparkle!


Thanks for reading!


Friday 3 February 2012

Mudcake apologies!

My sincerest apologies, to anyone who attempted to make the chocolate mud cake recipe from a previous blog. I made the mistake of just copying out this recipe and I completely forgot to adjust the measurements to make a smaller cake. I found out a couple of days ago that it made far too much mixture for the tin I recommended.
So I have made, and adjusted, this recipe. The staff at my school didn’t mind sampling the cake for morning tea. 
I can assure you, that it is now correct.
So here it is, the new and improved mud cake recipe.  
I vow that from here on in, all recipes will be trialled before they go on my blog. However please don’t hesitate to tell me if something is not quite right.
Happy baking!
Jenna

Chocolate Mud Cake

2 eggs
350g castor sugar
140ml vegetable oil
210g plain flour
11g baking soda (bi-carb soda)
75g cocoa powder
225g sour cream
240ml milk

1. Preheat the oven to 160˚C. Grease a 22cm square cake tin and line the base and sides with baking paper. If the tin has a removable base, it is a good idea to place this tin on a baking tray as the batter is very runny and may leak out during cooking.

2. Whisk the eggs, oil and castor sugar together until pale in a large bowl. 


3. In a medium sized bowl sieve together the plain flour, baking soda and cocoa powder and mix together so they are combined.


4. Place the sour cream in another bowl, and slowly pour the milk onto the sour cream while whisking and continue to whisk until completely combined. This should help to avoid any lumps of sour cream.


5. Alternate the wet and dry ingredients as you mix it into the egg/sugar/oil mixture, finishing off with the milk. Mix until completely combined. The mixture will be very runny.


6. Pour batter into the prepared tin and bake in oven for approximately 75 minutes. You will know when the cake is ready, as a cake tester inserted into the middle of the cake will come out clean (or only a couple of crumbs).


7. Allow the cake to cool in the tin for about 20 minutes and then take out of the tin, remove the baking paper and allow to cool completely on a wire rack. 
The cake is usually quite high in the middle as it comes out of the oven. This will flatten out as it cools. 


Chocolate Ganache

100g thickened cream
30g unsalted butter
200g dark chocolate

1. Chop chocolate into small pieces and place in a heatproof bowl.


2. Bring cream and butter to the boil in a small saucepan.


3. Pour the boiling cream over the chocolate and mix quickly until all of the chocolate has melted.


4. Pour some over the top of the cake and use a spatula to smooth out the top and sides.


5. Garnish the cake with fresh strawberries (or anything else you like).
 Enjoy!